Sunday, June 12, 2016

So Long- Farewell!- But Wait... There is More!

We did it! Two thrilling books, 54 experiments, and two and a half years. I named this blog "My Steve Spangler Inspired Science Adventure" and it was exactly that. Steve continues to be my inspiration and this truly was an adventure of epic proportions. I got to do things I have never done before, discover the unexpected, learn more than just the science, and share my adventure with all of you! 
  But I began this two and a half years ago....... why did it take me that long to finish? It was a variety of things but some of the main reasons were that my junior year of high school kicked in and time became very precious. Getting through the second book became a challenge. Usually doing the experiment was the easy part. It was the blog posts that would take me an hour or two to write up! Often it was difficult to take out three hours of my day to do the next experiment. If you remember my post way back in the fall of 2013 of why was I doing this entire thing.... it was because I didn't have anything better to do with my afternoons. I had time to do the experiment and blog. 
 Even though it took me so long to make the blog posts.... I wouldn't have had it any other way! Because I would go back and type everything that happened and why it happened which got me thinking and that helped me remember it WAY more than if I had just done the experiment and moved on. I still use a lot of the information I learned at my work and in everyday life. I have knowledge that I wouldn't have retained if I hadn't reflected on it through writing this blog.
  Plus if I hadn't taken as long as I did... I don't know if I would have been able to finish my blog with 
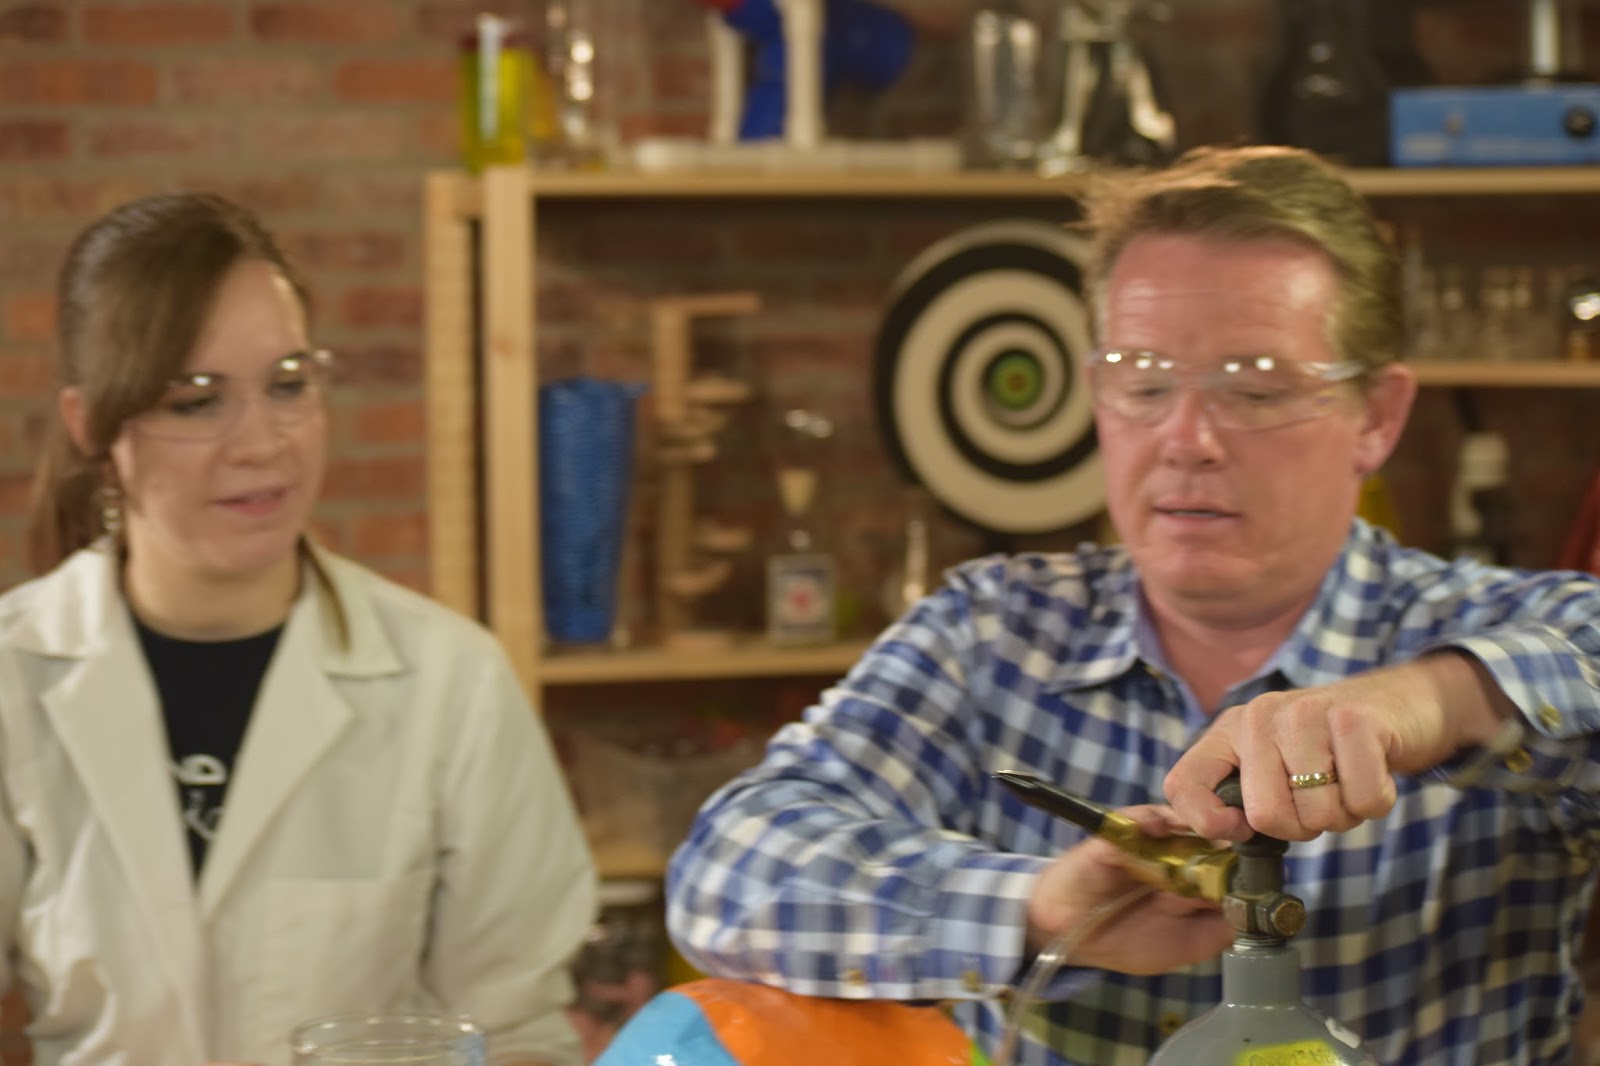
my inspiration for this whole thing. Making fire bubbles with Steve was such a perfect way to end this journey.
   There was one other thing that kept me really busy..... I started a business. Now your thinking "Whaaaat?". Yup that's right! In the Spring of 2016 at the age of 17 I wrote, produced, directed, organized, and starred in a 20-minute science show called "Science Girl in Dr. Von Heister's Hijinks". It was a senior project that was required by my parents. They wanted me to do something that I thought I wanted to do for a career. I spent nearly 300 hours and my show premiered at Explora in their theater for 3 weekends. Nine showings total and we had a full house nearly every time. We had such a great response that it grew from my high school senior project to my small business. Want to know more? Look at the official Science Girl website at www.sciencegirlslab.com 
There were a lot of changes over these last couple of years but some things haven't changed at all. For one thing my writing has improved (thank goodness!). Then again that silly sense of humor hasn't really changed at all. When I started the blog... I was a volunteer at Explora, now I am part-time staff! My looks have changed. I have not cared too terribly much about my looks growing up but it's so weird to look back and see the differences. You know the lab coat and glasses I used for every experiment?..... Those are the same coat and glasses I use for my Science Girl shows (and I still use the epic fail sign!). I was 15 when I started this journey..... now I'm 18 and headed off to collage this fall. My dream of being an on-stage science performer hasn't changed but it has become a reality.
This adventure has been such a big part of my teenage life. It kind of started everything! This adventure, and every experiment, have been the seeds of what I want to do with my life. I have experience and knowledge that I would have never grasped if I didn't have this blog. I will always have this knowledge and experience to help me through my business and job. 
 Even though right now I am shelving the books...... I am moving onto the next step in my life. I will continue my work as Science Girl and I will always remember this.
This is my first picture I put on my blog and then the last.
So long everyone. Steve, thanks for the Adventure...... Go Be Awesome.


Tuesday, May 17, 2016

54/54 Fire Bubbles......... With Steve!

Fire Bubbles! Such an intriguing title for an experiment isn't it?
This experiment requires methane which is hard to come by and we were trying for so long to figure out what we could do. Little did I know that we didn't have to worry about it. 
My family and I were going to Denver, Colorado to see my sister's graduation. My brilliant mom suggested that we would contact Steve Spangler to see if he would let us visit him while we were there. He graciously agreed! We arrived and he showed my family and me the building and we met his wonderful team. What I didn't know was the little secret Steve and my mom were hiding. If you haven't guessed it already. He surprised me by helping me finish this amazing science adventure, we did "Fire Bubbles".
Along with methane we needed a beach ball with tubing connected to the nozzle of the ball. Some water, soap, and a lighter as well.
Steve filled the beach ball with methane.


With the ball filled with the flammable gas, Steve stuck the open end of the tube into a soap and water solution. Then by squeezing the ball, the methane creates bubbles because of the soap in the water. Making perfect little pockets of combustion!


After making a bubbly tower, I dipped my hands in water making sure every part of them was covered. Then I scooped up a handful of bubbles.


Now comes the BEST PART! Steve lit them up. LIGHT IT ON FIRE!!!


MWAHAHAHAHA!!!! 
Sorry I had to do an evil laugh. I mean, come on! Wouldn't you?
And guess what? My hands were perfectly fine! In fact it was so great that we had to do it two or three more times (Of course!).


COLUMN OF FIRE! 
I think my evil scientist side just peeked out.
Amazing, right?
But how did I just hold burning bubbles and NOT get harmed?.... not even just a bit? 
The secret, my curious friend, was the dipping of my hands in the water. The water is evaporating while the methane is burning keeping your hands off the BBQ menu.
I'm surprised we didn't set off the fire alarms!
As I have said before.... DO NOT TRY THIS AT HOME. I had expert help. Help from the best!
Steve and I experimented and messed around with some other activities throughout the afternoon. This was amazing--so amazing the WOW-rating for this experiment is a 10! A solid "Knock your socks off" and a blog first! Not only because this experiment is like nothing I have ever done before but also my science hero, my inspiration for this blog, supported me and helped me wrap it up in a special way.
Thank you, Steve!


53/54 Fire Tornado

Hello everyone! Second to last experiment, let’s get to it!
Fire tornado. The materials to this one are unique. A Lazy Susan is among them. A big thank you to my pastor, Mr. Nagy, for giving me his Lazy Susan for my experiment!
The other materials are a metal screen, sponge pieces, lighter fluid, a lighter, a pan, a container to hold your fire, and a fire extinguisher.


Now I did not own some sort of bowl or cup that would hold my flame. With my mom’s permission I took a empty can and filled it part of the way with tiny rocks for weight. Then, I laid tin foil over it and pushed the foil down into the can making a nice little cup.


I covered the Lazy Susan with foil to protect it. The metal screen needed to be stapled into a cylinder and I carefully cut and measured the screen according to the instructions in the book.
Enough set-up talk, let’s get to experimenting!
I found that this experiment was very tricky. So many variables, so many safety precautions, and a whole lot of patience. First, I had to test if my home-made fire cup, I needed to know if it would work. I put the pieces of sponge into the can and soaked them in lighter fluid. With my handy lighter, I lit the sponges.
I have adult supervision and many safety precautions in place. DO NOT ATTEMPT!!


It worked perfectly! My handy pan that you may recognize from “egg drop” served as my flame smother-er (I just made that up, didn’t I?).
I have a can full of flame on a Lazy Susan…… time to spin it! Let’s see what happens.

The flame became more vigorous but no tornado effect that we are looking for. That’s where the metal screen comes in. By carefully placing the screen in the middle of the Lazy Susan. I gently spun the the board around.
But between the screen having trouble staying up and the gentle breeze, it was extremely difficult to get a noticeable effect. But through trial and error and a whole lot of patience, I did create the desired fire tornado! Take a look at this amazing work of science!!


Pretty amazing!
After all the spinning, shifting, and testing we did to try to accomplish the tornado, it felt great to finally get the effect we were going for.
But that is not all. There is more to this story of fire and……um…. a Lazy Susan (Dramatic speech FAIL!)
While I was trying to get another tornado effect, the screen dramatically shifted and then tipped over, knocking the can over while the lighter fluid was still burning!! I instinctively grabbed the fire extinguisher and on the orders of my mother, blew out the flames. We didn’t want the fire to reach the ground. Thankfully there was no damage to anything or anyone!


Whew!! That was a close one. I was particularly glad that I kept the flames away from that pile of leaves. THAT, my friends, is why you take extra safety precautions when performing an experiment. It was kind of cool to use a fire extinguisher for the first time. It was also the first time my mom had to use one… she said she always knew that I was going to be the reason why she had to use a fire extinguisher for the first time!
Why did I have so much trouble getting my fire tornado? I think the big part was the breeze but also I think I need to get a stronger metal screen. This one was very flimsy so I should revisit this experiment sometime in my future and try it with different materials and conditions but first I will have to recharge my fire extinguisher!!
The WOW-rating for this experiment is an 8. It was so great when we had that pillar of fire climb the air like a ladder! But why did it make a tornado with the screen? The rising molecules around the flame and the combined rotational motion of the air caused by the screen create the beautiful swirl that you see.
Now I don’t really need to remind you to DO NOT TRY THIS AT HOME! I have seen videos of teachers doing this experiment in their class and it going terribly wrong. Please take this seriously.

We only have ONE MORE EXPERIMENT!!! This next one I have been waiting to do since I saw Steve Spangler do it way back when I was 14 years old. You are not going to want to miss this one.


Monday, November 30, 2015

52/54 Vanishing Peanuts

Didn’t you just love sticking your arm in the box full of packing peanuts when you were a kid? I did! But I think I just found a new way to enjoy the existence of packing peanuts!! I had two bowls full of water and two kinds of packing peanuts- Styrofoam and starch-based. I took a hand full of the Styrofoam and set it in the water.

IMG_2459  IMG_2462

After I had push and pinched the pieces.. nothing exciting happened. So I moved on to the starch-based packing peanuts and did the same thing but this time was different- it seemed that these corn-made packing peanuts started to break down.

IMG_2466

With further peanut dipping, they turned into this green, gooey shlump (yes, shlump).

IMG_2467 IMG_2468

Ok, so obviously we can break down these starch-based peanuts with water. But what about Styrofoam?

That’s where this experiment turns into the “Super Secret Teachers Only” section. One ingredient- Acetone.

With gloves, I carefully poured a small amount of acetone into my beaker. Then I threw in a handful of Styrofoam!

 IMG_2474 IMG_2477

I literally threw in a handful of peanuts in the beaker and it was gone within seconds!! It bubbled and fizzed like it was in a movie. But I could not stop there, I cut a strip of insulation and…..

IMG_2480 IMG_2481IMG_2482  IMG_2483

This is all on one little amount of acetone!! It was like it was bigger on the inside!!

What was really happening was the acetone was breaking down the elements in the Styrofoam into its original polystyrene form of the polymer.  More companies these days are turning to the starch-based peanuts because they break down in water so they are more environmentally friendly.

WOW-rating is a 7! I really enjoyed it. And I remembered something very annoying about packing peanuts…….

IMG_2485

Static electricity.

Guys we are a mere 2 experiments away from finishing!! This is crazy but we will have so much fun finishing up.


51/54 Exploding Toothpaste- Adult Version!

Remember the last experiment where we used a very low concentration of hydrogen peroxide to make that fun bubbly reaction? We will be doing the same thing with this experiment but we are going to use a different catalyst and the concentration of the hydrogen peroxide is 9 times the concentration compared to the last experiment!
As a reminder, I am doing this experiment with the supervision of my mom. She used to be a bio chemist and knows how to deal with dangerous chemicals. This concentration of hydrogen peroxide is very caustic and will burn. Please DO NOT attempt this.
I carefully made a saturated solution of our catalyst. If you don’t remember what a catalyst is, it is a chemical that speeds up the reaction of another chemical. In this instance, the catalyst speeds up the reaction of the breakdown of hydrogen peroxide into hydrogen and oxygen.
IMG_2434  IMG_2435
A saturated solution is when you mix something like salt into water and keep adding salt until the water can no longer dissolve the salt crystals. Then you have a saturated solution of salt.
Then I needed to measure out the amount of the hydrogen peroxide into a large graduated cylinder. I had to be extra careful not to spill.
IMG_2438
Then I made a mixture of the hydrogen peroxide, some food coloring, and some soap! I gave it a good swirl and we are ready to go!
IMG_2442 
Then I was ready to head outside! I thought it would be best to do it in our rock area so it wouldn’t do anything funny with the grass and easy to wash with a hose.
After I planted the cylinder in the rocks, it turns out you only need about a tablespoon of the catalyst for the reaction. So here we go! I have been waiting to do this experiment for years and I am finally going to do it!
IMG_2445 IMG_2446 IMG_2447 IMG_2448 IMG_2449
Whoopie-doo! Look at that blue eruption!
The science behind this experiment is the same thing as the previous, its just in bigger proportions! This reaction was actually so warm (see previous post) that is was steaming!
The bubbles, however, are still not quite safe to touch because there could still be some hydrogen peroxide left over that we do not want to come in contact with.
This was foam-tastic! let’s give it a WOW-rating of 8! I would definitely love this forever!